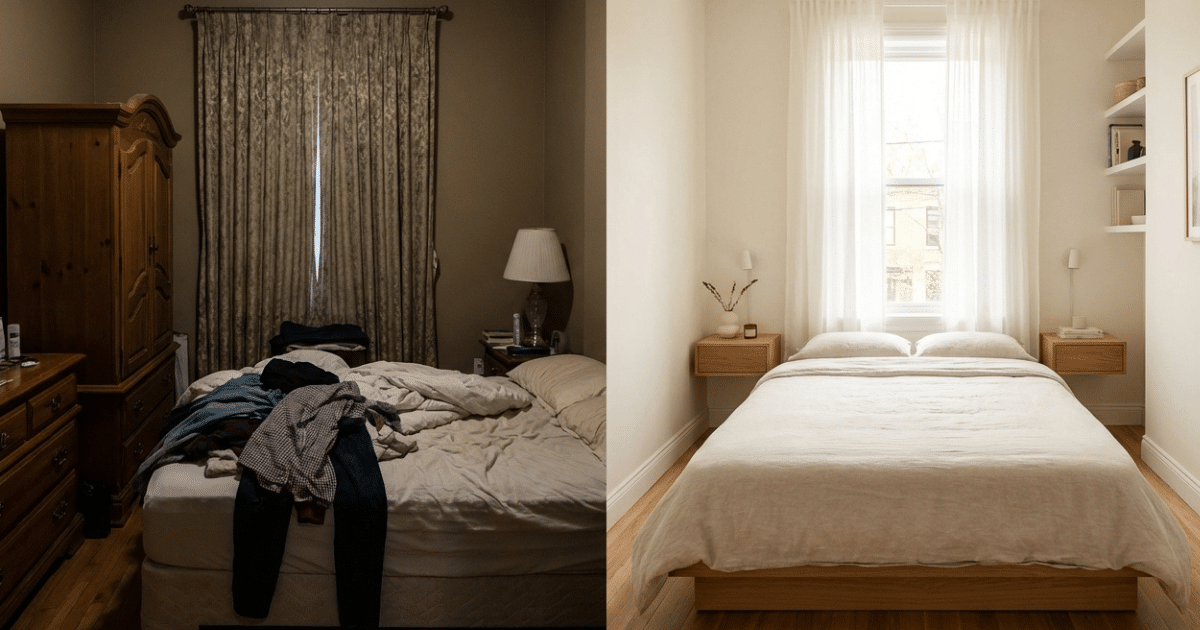
A small bedroom can feel overwhelming when the layout doesn’t work and the lighting feels heavy. I’ve seen it happen so many times rooms that have potential but feel cramped, cluttered, and completely uninspiring. The bed dominates the space, dark walls shrink it even more, and storage becomes a daily frustration.
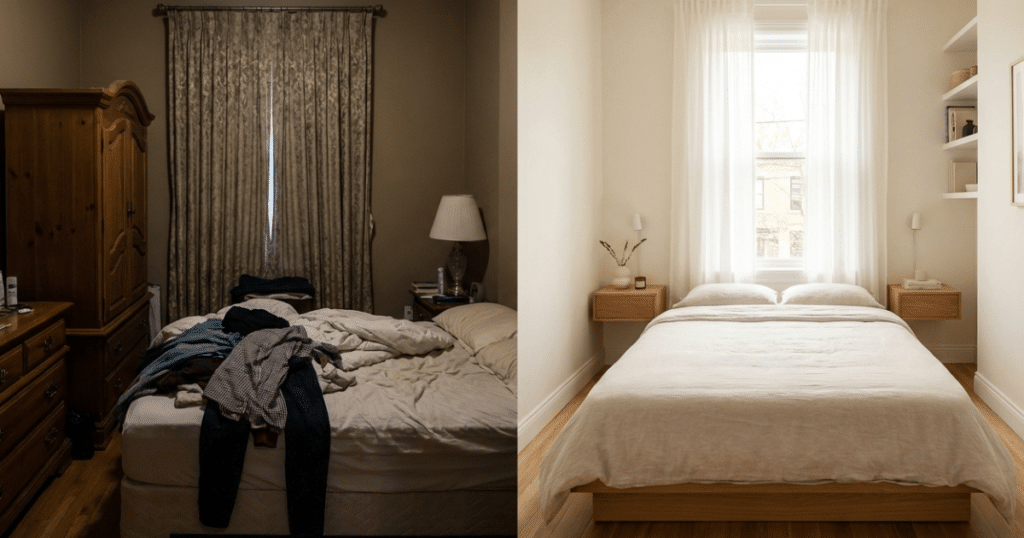
This small bedroom before and after transformation proves that you don’t need more square footage you need smarter design decisions. The right layout, lighter colors, and intentional furniture choices can completely change how a room feels.
In this guide, I’ll walk you through this small bedroom before and after makeover step by step. You’ll see what wasn’t working, the strategy behind the transformation, and how you can apply these same principles to your own space even on a tight budget.
Table of Contents
The Before
What Wasn’t Working
Before the makeover, this small bedroom had several common issues that made it feel even smaller than it actually was.
First, the layout was inefficient. The bed was pushed awkwardly into a corner, blocking natural movement and making the room feel tight. There was no clear visual flow from the door to the window.
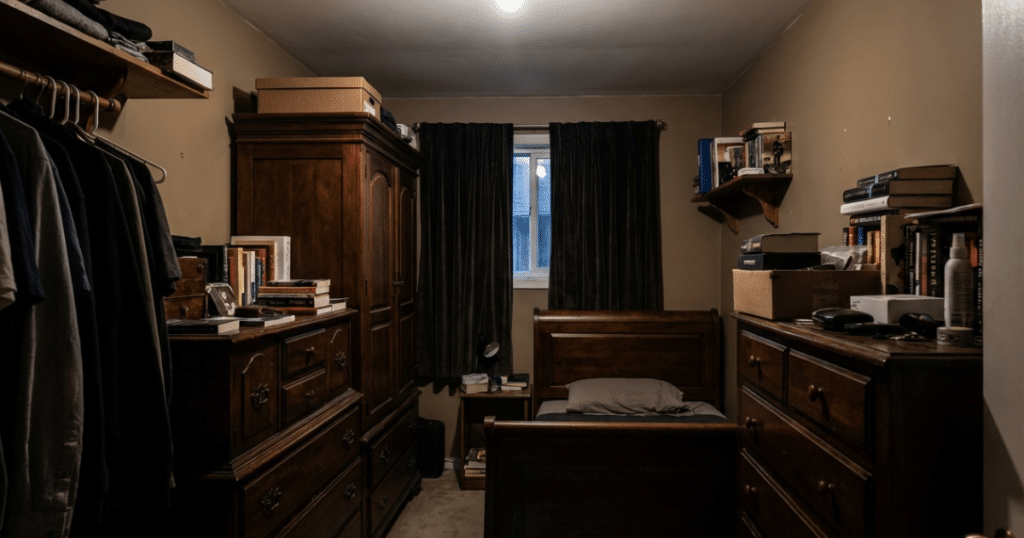
Second, the furniture was oversized for the scale of the room. A bulky dresser and thick nightstands consumed valuable floor space, leaving little room to move comfortably.
The wall color was also a problem. Dark beige paint combined with heavy curtains absorbed light instead of reflecting it. Even during the day, the room felt dim and enclosed.
Lighting was limited to a single overhead fixture, creating harsh shadows and emphasizing the room’s small proportions.
Finally, cluttered surfaces and lack of smart storage made the bedroom feel chaotic. When storage isn’t intentional in a small bedroom, the space quickly becomes overwhelming.
This small bedroom before and after transformation started by identifying these exact pain points.
The Transformation Strategy
The Plan Behind the Makeover
The goal of this small bedroom before and after makeover was simple: create a brighter, calmer, more functional space without changing the room’s footprint.
Design Goal
Make the room feel open, airy, and organized.
Budget Goal
Stay under $1,200 by reusing key furniture pieces and focusing on high-impact upgrades.
Priority Changes
- Improve layout flow
- Brighten walls and maximize light
- Replace bulky furniture with scaled-down pieces
- Add hidden storage solutions
Mood & Style Direction
The chosen style direction was soft minimalism with warm neutrals — think light oak, white walls, linen textures, and subtle black accents.
Instead of adding more decor, the strategy focused on editing what was already there and upgrading intentionally.
The After
What Changed
1. Layout Improvements
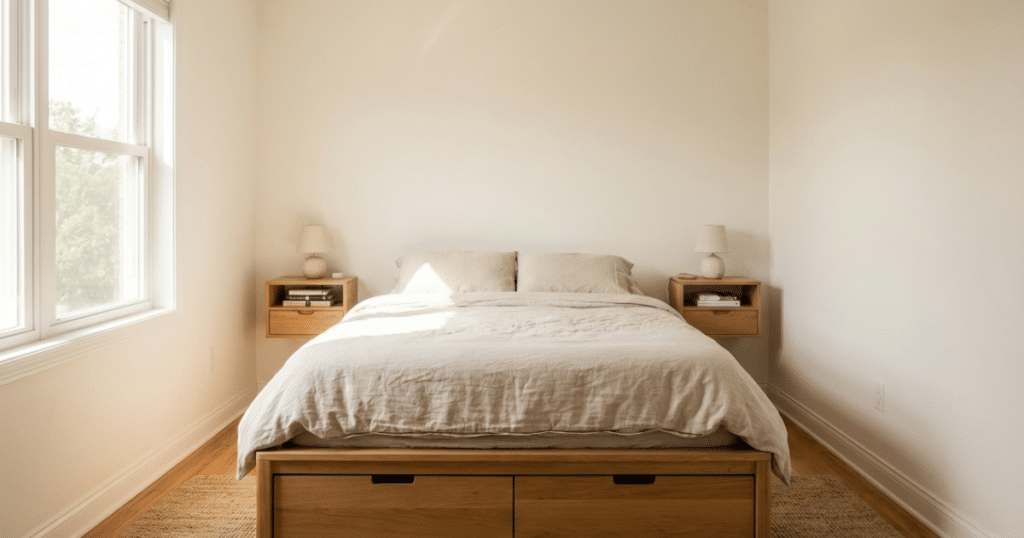
The first step in this small bedroom before and after transformation was repositioning the bed to the center of the main wall. This immediately improved symmetry and created balanced walking paths on both sides.
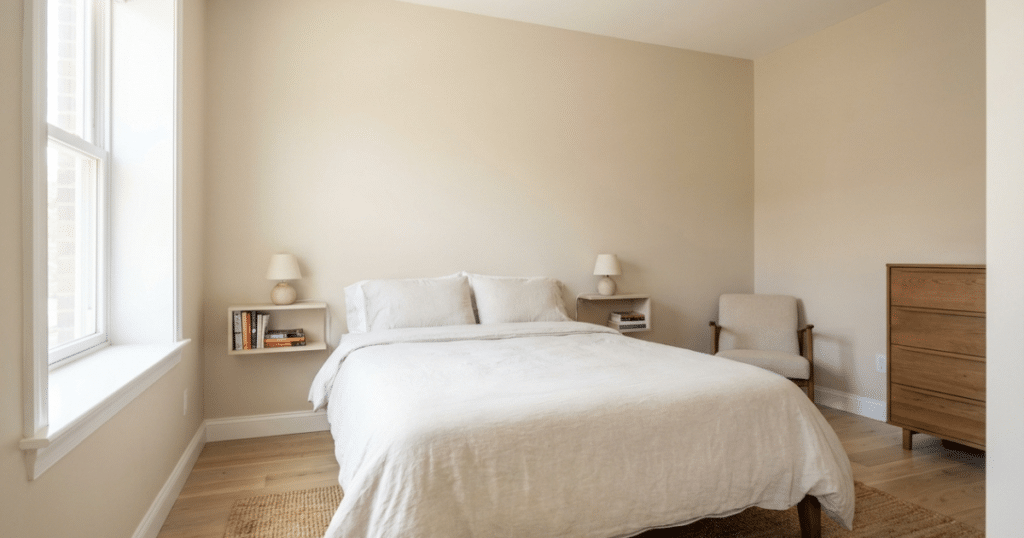
Floating nightstands replaced bulky bedside tables, freeing up floor space and visually lightening the room.
By clearing unnecessary pieces and simplifying the layout, the room instantly felt more breathable.
2. Color & Lighting
Dark beige walls were replaced with a soft warm white. This single change dramatically increased brightness and made the room feel larger.
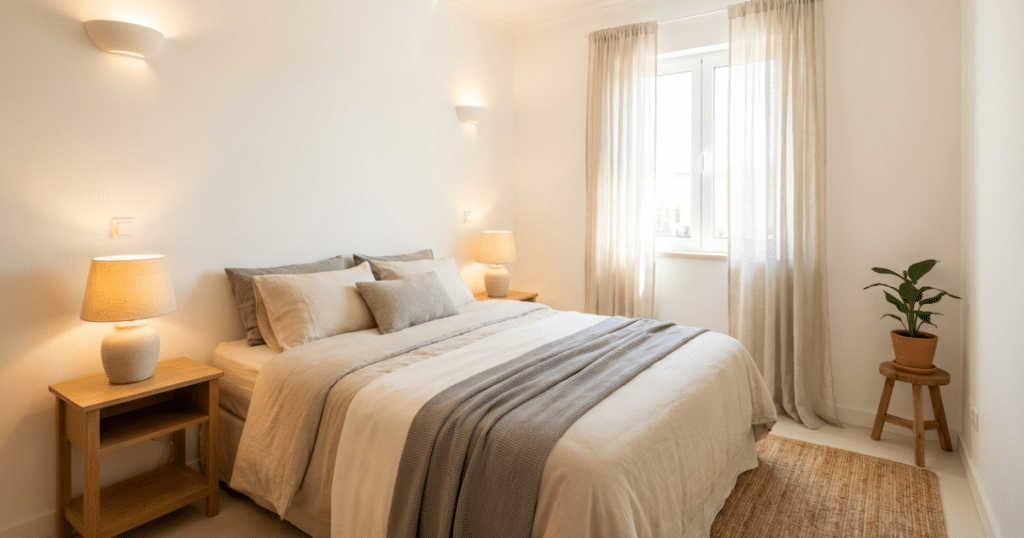
Heavy curtains were swapped for light, sheer panels to maximize natural light. Instead of relying on one overhead fixture, layered lighting was introduced:
- Wall sconces
- A soft bedside lamp
- Warm LED ceiling light
Lighting alone transformed the atmosphere in this small bedroom before and after reveal.
3. Furniture Choices
Oversized furniture was replaced with slim-profile pieces. A narrower dresser with vertical storage maximized capacity without crowding the floor.
The bed frame was swapped for a low-profile design to visually raise ceiling height.
Decor was simplified fewer items, but more intentional ones:
- A single large artwork
- Neutral bedding
- One textured throw
The result? Clean, calm, cohesive.
4. Storage Solutions
Hidden storage was key to this small bedroom before and after success.
Under-bed drawers added discreet storage for seasonal clothes. A slim bench with internal storage sat at the foot of the bed. Floating shelves replaced a bulky bookcase.
By keeping surfaces clear and organizing vertically, the bedroom finally felt peaceful instead of packed.
Psychological Impact of This Small Bedroom Before and After
One of the most surprising results of this small bedroom before and after transformation wasn’t just visual it was emotional. Small spaces directly affect how we feel. When a room feels crowded, dark, and disorganized, it increases subtle stress levels. When it feels open and intentional, it promotes calm.
After the makeover, the bedroom no longer felt like a storage box it felt like a retreat. The lighter walls reflected natural light throughout the day. The improved layout created smoother movement patterns. The reduced clutter helped the mind relax instead of constantly processing visual noise.
This is why every successful small bedroom before and after project should focus on clarity, not decoration. It’s not about adding more items it’s about removing friction.
If you’ve ever walked into a hotel room and instantly felt calm, it’s because of layout symmetry, layered lighting, and visual simplicity. Those same principles apply here.
Budget Breakdown
Estimated Budget Range
- Paint & supplies: $150
- Lighting upgrades: $250
- Floating nightstands: $200
- Slim dresser: $350
- Decor & textiles: $180
- Storage solutions: $120
Total Approximate Budget: $1,250
The biggest impact came from paint and lighting two of the most affordable upgrades in this small bedroom before and after project.
Design Tips You Can Apply
5 Smart Lessons From This Makeover
- Start with layout before buying anything new.
- Use lighter tones to reflect natural light.
- Avoid oversized furniture in compact rooms.
- Layer lighting instead of relying on one fixture.
- Choose fewer, better decor pieces for a calmer feel.
These lessons are what truly define a successful small bedroom before and after transformation.
Common Mistakes to Avoid
- Blocking natural light with heavy curtains
- Choosing bulky furniture “just because it fits”
- Using dark paint in already small rooms
- Overdecorating walls and surfaces
Even the smallest room can thrive when you avoid these mistakes in your own small bedroom before and after journey.
Final Thoughts
This small bedroom before and after transformation shows that real change doesn’t require demolition — just intention.
Small spaces respond beautifully to thoughtful design. With the right layout, lighter colors, and strategic storage, even the smallest bedroom can glow.
If you’re considering your own small bedroom before and after makeover, start with the layout, simplify your palette, and let light do the heavy lifting.
Small Bedroom Before and After: Styling Details That Made the Difference
Beyond layout and furniture, subtle styling details elevated this small bedroom before and after transformation from functional to beautiful.
Textures Over Patterns
Instead of busy prints, the room uses layered textures linen bedding, woven baskets, soft cotton curtains. This adds dimension without overwhelming the eye.
One Statement Piece
A single oversized art print replaced multiple small frames. Large-scale decor actually makes small rooms feel bigger because it reduces visual fragmentation.
Coordinated Hardware
Small upgrades like matte black drawer handles and matching light fixtures created cohesion. These tiny details often go unnoticed individually, but together they complete the transformation.
Intentional Negative Space
Leaving some walls blank was deliberate. In small rooms, empty space is powerful. It allows the eye to rest and makes the room feel breathable.
These subtle choices are often what separate an average makeover from a professional-looking small bedroom before and after result.
FAQ
How much does a small bedroom makeover cost?
A small bedroom makeover can range from $500 to $2,000 depending on whether you replace furniture or simply repaint and restyle. Budget-friendly upgrades like paint and lighting typically deliver the biggest impact.
How do you make a small room look bigger?
Use light wall colors, maximize natural light, choose scaled-down furniture, and keep surfaces clutter-free. Mirrors and vertical storage also help create visual expansion.
What colors work best in small spaces?
Soft whites, light grays, warm neutrals, and muted pastels work best because they reflect light and reduce visual heaviness.
Is it better to use a large or small bed in a small bedroom?
Use a bed that fits the scale of the room. A queen may work, but bulky frames should be avoided. Low-profile designs are ideal for small bedrooms.
Browse my curated collection on Pinterest